공식 문서
공식 홈페이지
https://huggingface.co/docs/diffusers/index
Diffusers
Taking Diffusers Beyond Images
huggingface.co
The library has three main components:
- State-of-the-art diffusion pipelines for inference with just a few lines of code.
- Interchangeable noise schedulers for balancing trade-offs between generation speed and quality.
- Pretrained models that can be used as building blocks, and combined with schedulers, for creating your own end-to-end diffusion systems.
환경설정
Diffusers is tested on Python 3.7+, PyTorch 1.7.0+ and Flax.
Follow the installation instructions below for the deep learning library you are using:
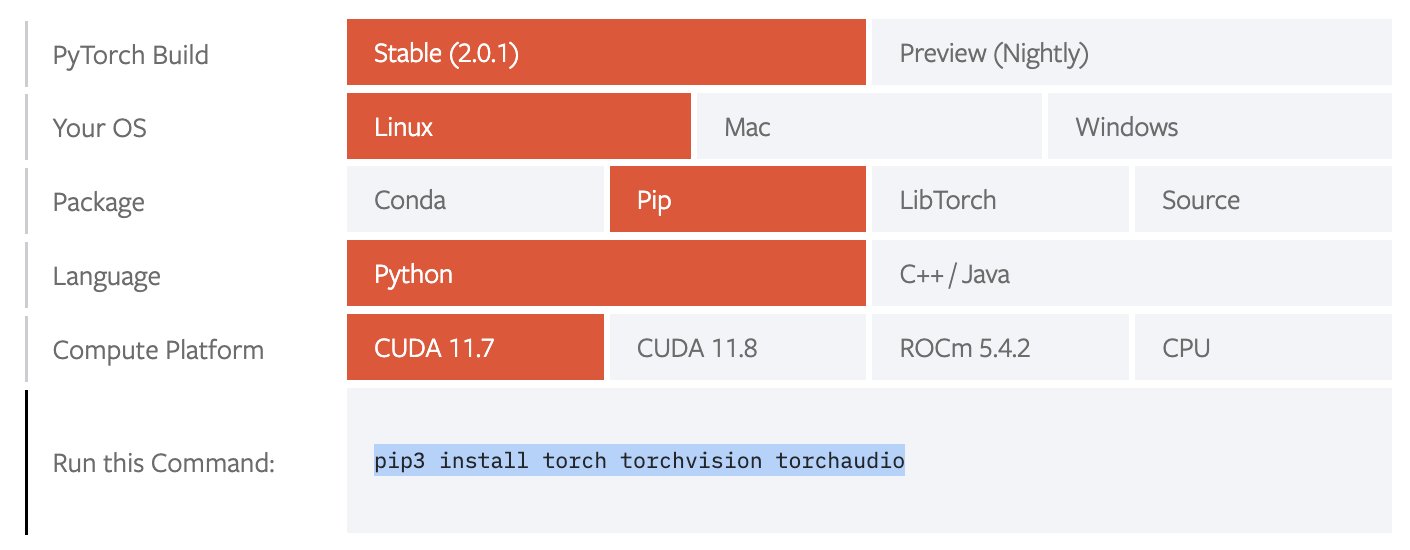
PyTorch : https://pytorch.org/get-started/locally/
Flax : https://flax.readthedocs.io/en/latest/
(Flax는 안 쓸 예정)
pytorch는 이걸로 다운 받았다
🤗 Diffusers also relies on the 🤗 Transformers library, and you can install both with the following command:
pip install diffusers["torch"] transformers
pip install accelerate
pip install git+https://github.com/huggingface/diffusers
위와 같은 방법들을 이용하면 된다
가상환경
pyenv virtualenv를 이용해서 다음과 같이 만들고 디렉토리 구조는 diffusers를 최대한 맞추고자 하였다

Custom Diffusion
Custom Diffusion is a method to customize text-to-image models like Stable Diffusion given just a few (4~5) images of a subject.
The train_custom_diffusion.py script shows how to implement the training procedure and adapt it for stable diffusion.
Custom Diffusion은 Stable Diffusion을 이용하여서 Custom Dataset 4-5개의 이미지로 text-to-image Generation을 하는 모델이다
Diffusers 가져오기
Diffusers를 가져온 다음 Clone해주자
git clone https://github.com/huggingface/diffusers
cd diffusers
pip install -e .
그 다음 customDiffusion을 위한 환경세팅을 진행하자
주의점은 만약 가상환경을 pyenv로 했으면 여기에도 동일한 가상환경을 적용해 줘야한다
pyenv local <가상환경명>cd examples/custom_diffusion
pip install -r requirements.txt
pip install clip-retrieval
그 다음 Acclerate를 설정해주자
accelerate configaccelerate란 나는 device 정하는 느낌으로 해석했다
🤗 Accelerate is a library that enables the same PyTorch code to be run across any distributed configuration by adding just four lines of code! In short, training and inference at scale made simple, efficient and adaptable.
https://huggingface.co/docs/accelerate/index
뭔지 모르겠으면 일단 아래의 명령어로 넘어가자
accelerate config default
Dataset 준비
두가지로 나뉘는데
- 제공되는 데이터셋 이용
- custom dataset 이용
제공 데이터 셋 이용
아래의 링크를 통해서 Dataset을 다운 받으면 된다
https://www.cs.cmu.edu/~custom-diffusion/assets/data.zip
이렇게 받은 데이터셋은 로컬에 저장되는데 이를 원격으로 올리고 싶으면
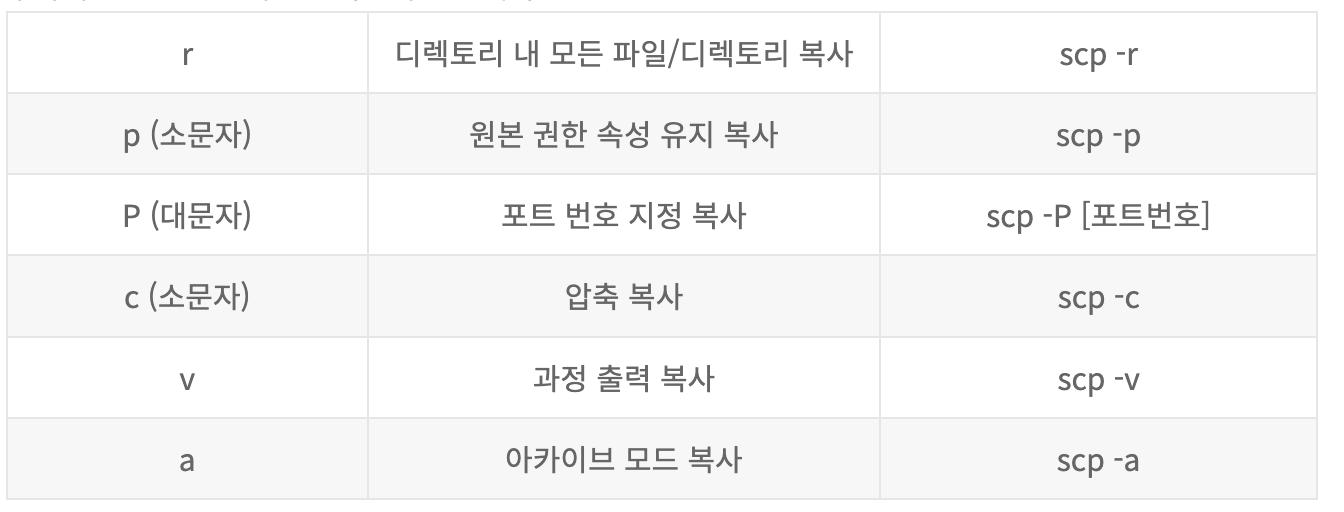
scp [옵션] [파일명 1] [파일명 2] [원격지_id]@[원격지_ip]:[받는 위치]
scp -r ~/Downloads/data.zip [원격지_id]@[원격지_ip]:/opt/custom_diffusion_dataset/
unzip data.zip
[옵션]은 줘도 되고 안줘도 된다 (단 디렉토리를 보낼 때는 -r 사용)
원격지에서 로컬로 받고 싶을 때도 마찬가지로
scp [옵션] [원격지_id]@[원격지_ip]:"[원본 위치 파일][원본 위치 파일]" [받는 위치]받을 때는 원격지 경로의 파일을 " " 로 묶어서 사용해야 한다.
커스텀 데이터 셋 이용
아래의 링크를 참고하면 된다
https://huggingface.co/docs/diffusers/training/create_dataset
CLIP을 이용해 Regularization dataset 만들기
논문을 읽어보면 overfitting되어서 사진 그대로 나오는 것을 막기 위해 CLIP을 이용해서 LAION Data중 Threshold가 0.85이상인 놈들 200개를 같이 사용했다고 한다
아룰 해보자
이걸 하기 위해서 위에서 다음 명령어
pip install clip-retrieval로 clip을 받았었다
실행을하려면 다음 명령어를 실행하자
python retrieve.py --class_prompt cat --class_data_dir real_reg/samples_cat --num_class_images 200주의 점은 Class prompt를 cat으로 했으면 <V*> cat 인 것이다
아래와 같이 잘 되다가
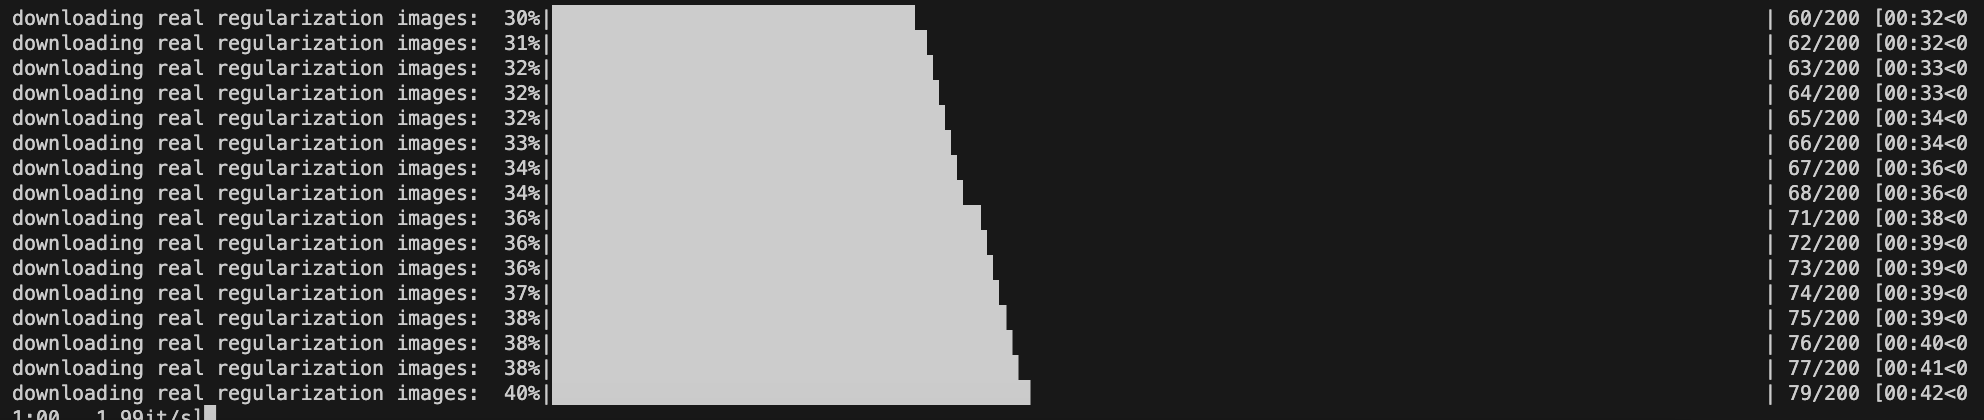
여기서 멈췄다

약간의 버그라고 하니 프롬포트를 바꾸거나 반복하다 보면 될 때가 있다 (아니면 num_class_images 를 조절하자)
이후에
export MODEL_NAME="CompVis/stable-diffusion-v1-4"
export OUTPUT_DIR="path-to-save-model"
export INSTANCE_DIR="./data/cat"
#in my case -> my custom data is in ./custom_cat1
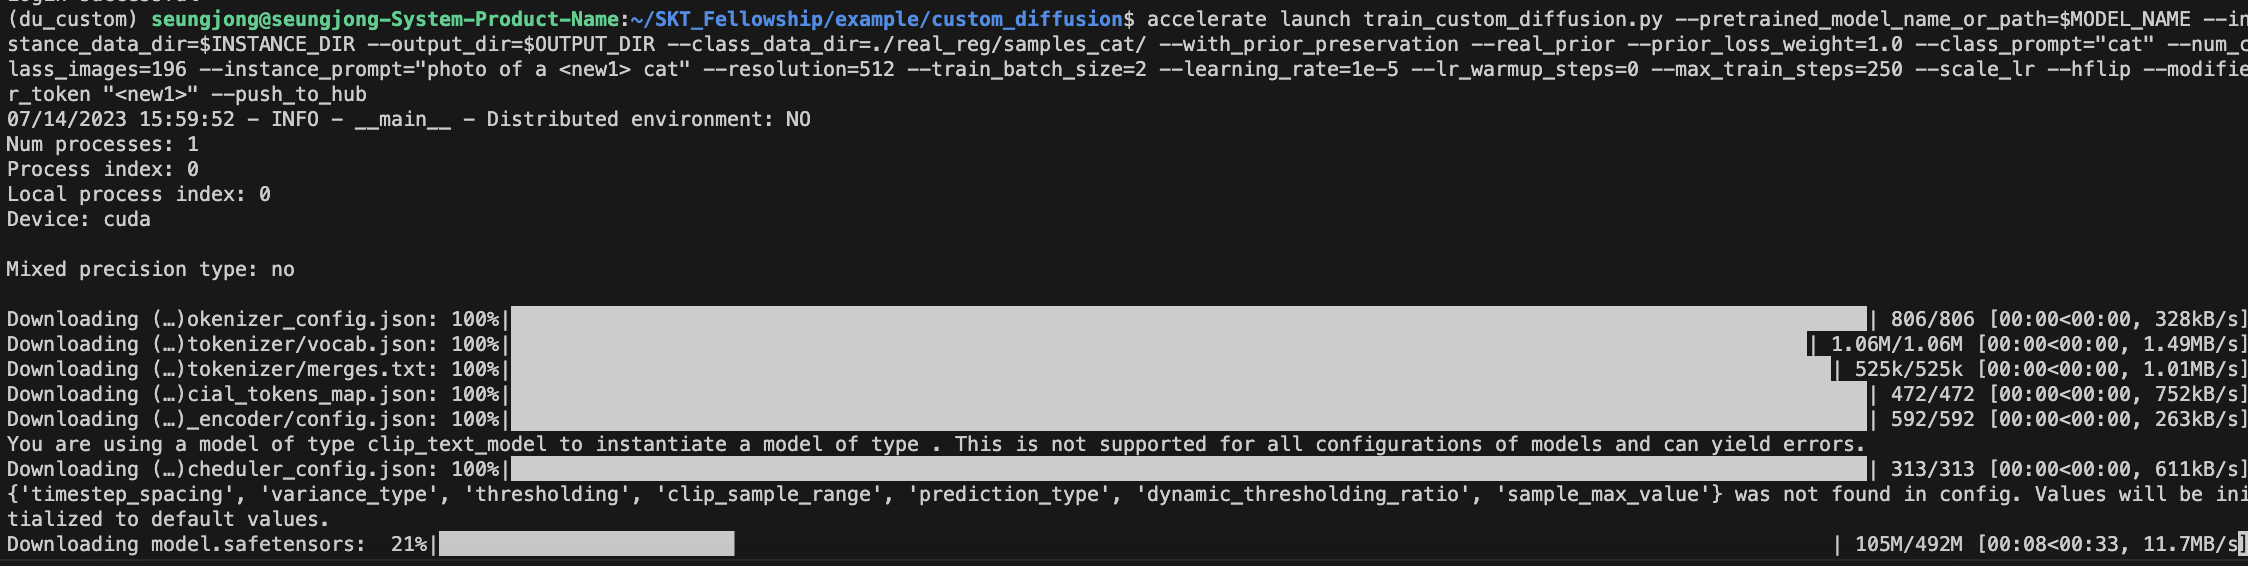
export INSTANCE_DIR="./custom_cat1"accelerate launch train_custom_diffusion.py --pretrained_model_name_or_path=$MODEL_NAME --instance_data_dir=$INSTANCE_DIR --output_dir=$OUTPUT_DIR --class_data_dir=./real_reg/samples_cat/ --with_prior_preservation --real_prior --prior_loss_weight=1.0 --class_prompt="cat" --num_class_images=200 --instance_prompt="photo of a <new1> cat" --resolution=512 --train_batch_size=2 --learning_rate=1e-5 --lr_warmup_steps=0 --max_train_steps=250 --scale_lr --hflip --modifier_token "<new1>" --push_to_hub를 실행시켜주면 된다
accelerate launch train_custom_diffusion.py \
  --pretrained_model_name_or_path=$MODEL_NAME  \
  --instance_data_dir=$INSTANCE_DIR \
  --output_dir=$OUTPUT_DIR \
  --class_data_dir=./real_reg/samples_cat/ \
  --with_prior_preservation --real_prior --prior_loss_weight=1.0 \
  --class_prompt="cat" --num_class_images=200 \
  --instance_prompt="photo of a <new1> cat"  \
  --resolution=512  \
  --train_batch_size=2  \
  --learning_rate=1e-5  \
  --lr_warmup_steps=0 \
  --max_train_steps=250 \
  --scale_lr --hflip  \
  --modifier_token "<new1>" \
  --push_to_hub
나 같은 경우는 196에서 멈춰서 num_class_image를 196으로 수정했다
추가로
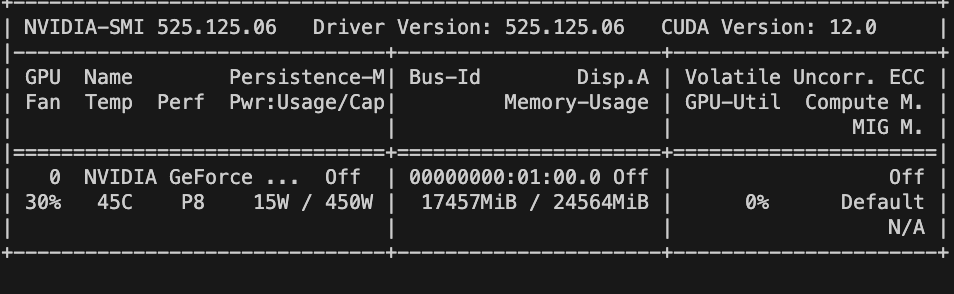
Use --enable_xformers_memory_efficient_attention for faster training with lower VRAM requirement (16GB per GPU). Follow this guide for installation instructions.
이거 사용하면 더 효율적인 GPU 사용이 가능하다고 한다

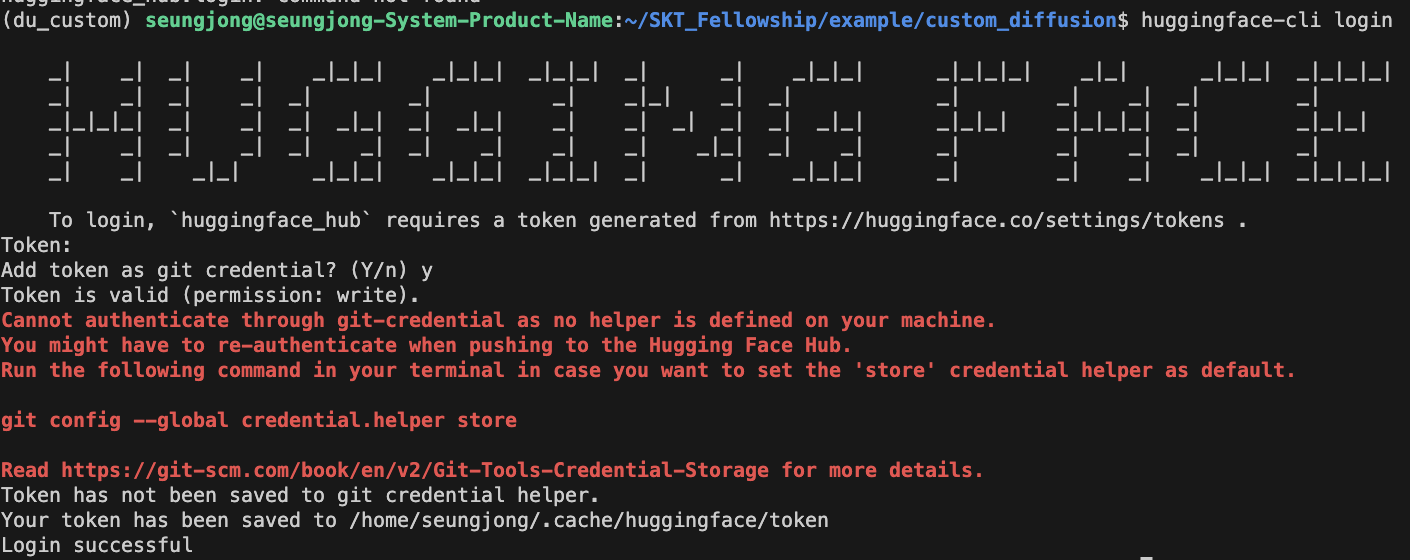
ValueError: Token is required (write-access action) but no token found. You need to provide a token or be logged in to Hugging Face with `huggingface-cli login` or `huggingface_hub.login`. See https://huggingface.co/settings/tokens.
는 huggingface 토큰 문제이므로
https://huggingface.co/settings/tokens
여기에 들어가서 token을 발급받고
huggingface-cli login한 다음 토큰을 입력해주면 된다
다시 명령어를 입력하면
잘 돌아간다
그러다 error가 떠서

batch_size를 1로 줄여줬다
딱 올라간다
하지만 마지막에

Traceback (most recent call last):
  File "/opt/.pyenv/versions/du_custom/bin/accelerate", line 8, in <module>
    sys.exit(main())
  File "/opt/.pyenv/versions/3.8.10/envs/du_custom/lib/python3.8/site-packages/accelerate/commands/accelerate_cli.py", line 45, in main
    args.func(args)
  File "/opt/.pyenv/versions/3.8.10/envs/du_custom/lib/python3.8/site-packages/accelerate/commands/launch.py", line 979, in launch_command
    simple_launcher(args)
  File "/opt/.pyenv/versions/3.8.10/envs/du_custom/lib/python3.8/site-packages/accelerate/commands/launch.py", line 628, in simple_launcher
    raise subprocess.CalledProcessError(returncode=process.returncode, cmd=cmd)
이거 떠서 뭐지 했는데
--push_to_hub빼니깐 잘 되었다
결과 분석
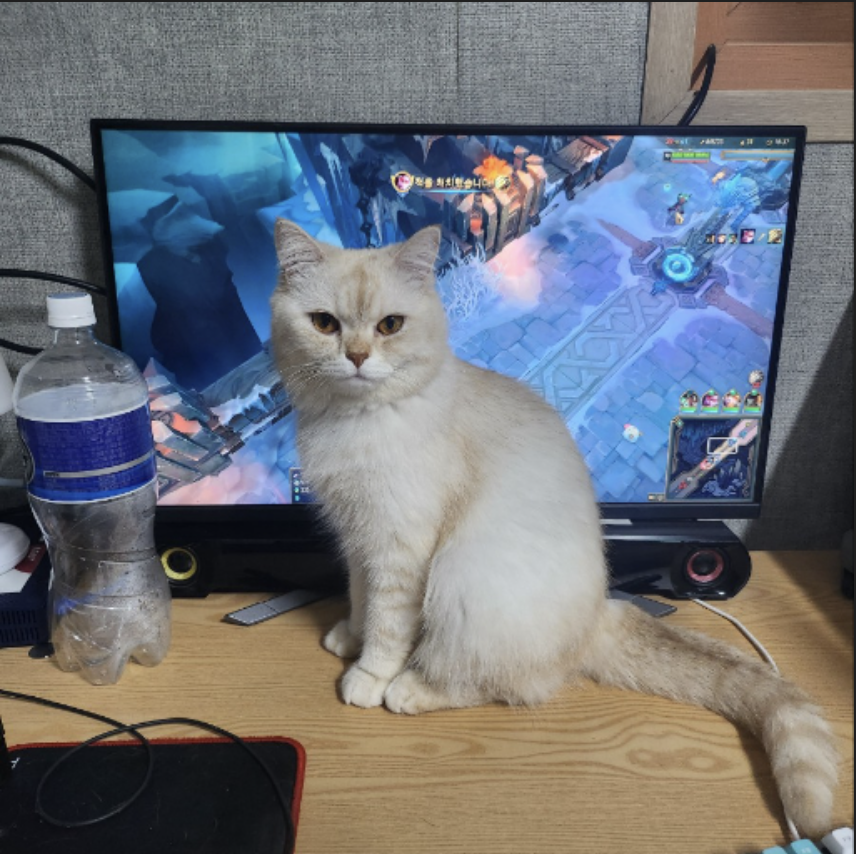
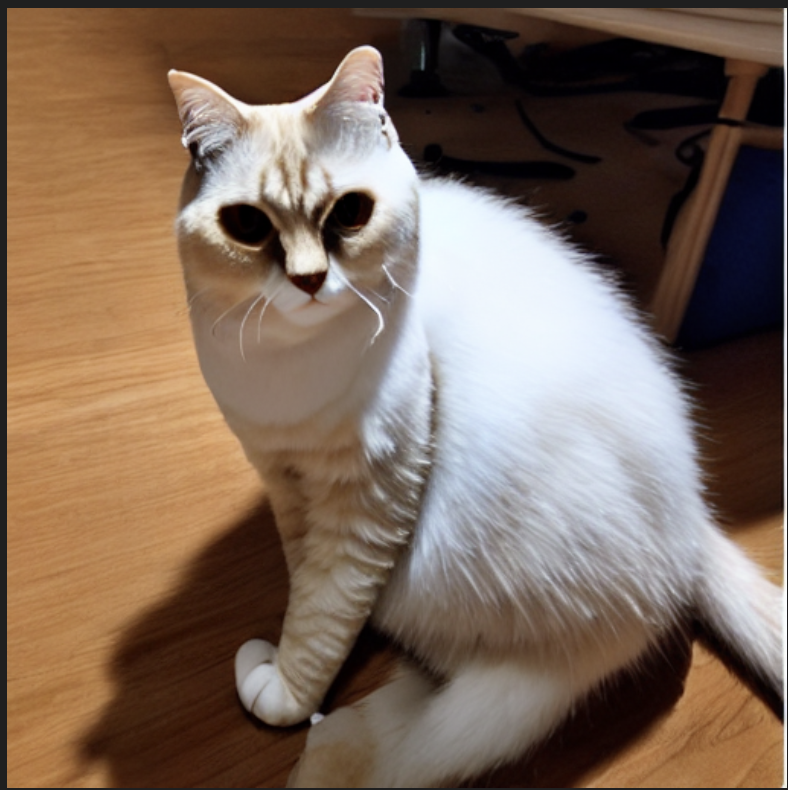
이 고양이 사진을 넣어서
A photo of a <new1> cat"
찍었더니
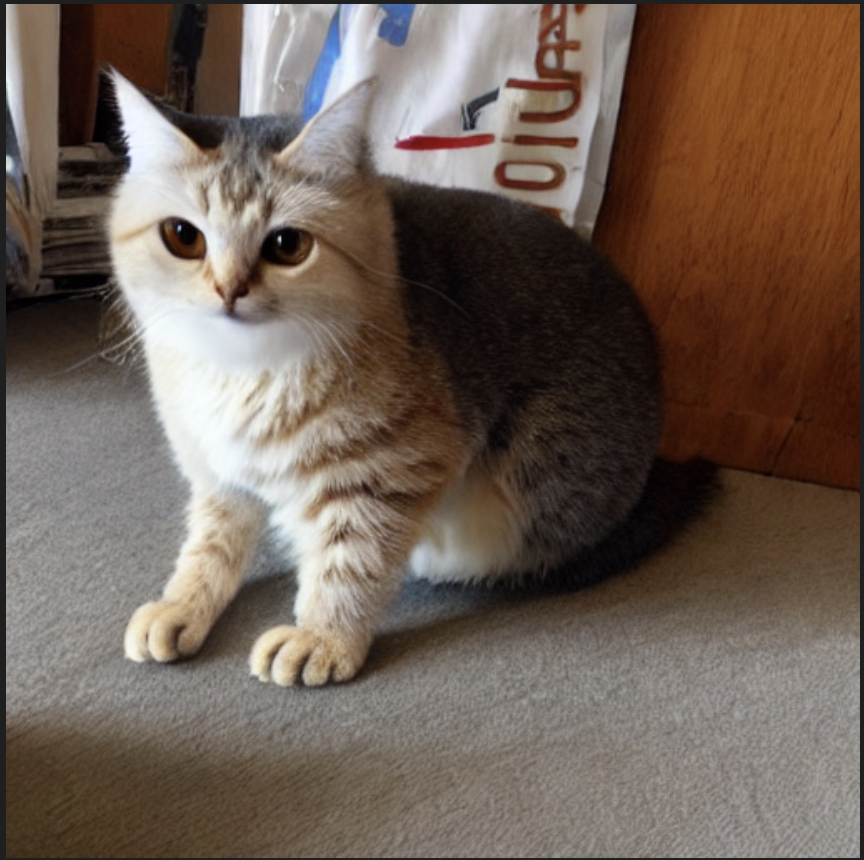
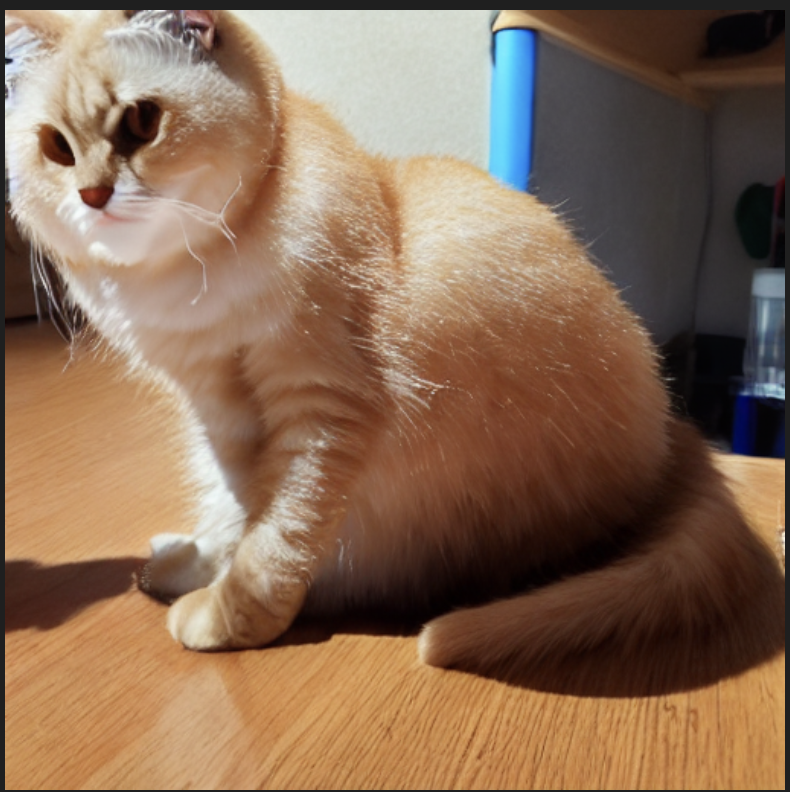
귀엽지만... 다르다 ㅠㅠ
건드릴만한 args 는
  --resolution=512  \
  --train_batch_size=1  \
  --learning_rate=1e-5  \
  --max_train_steps=250 \
정도 인데 batch_size를 2로 올리는 순간 GPU가 터진다
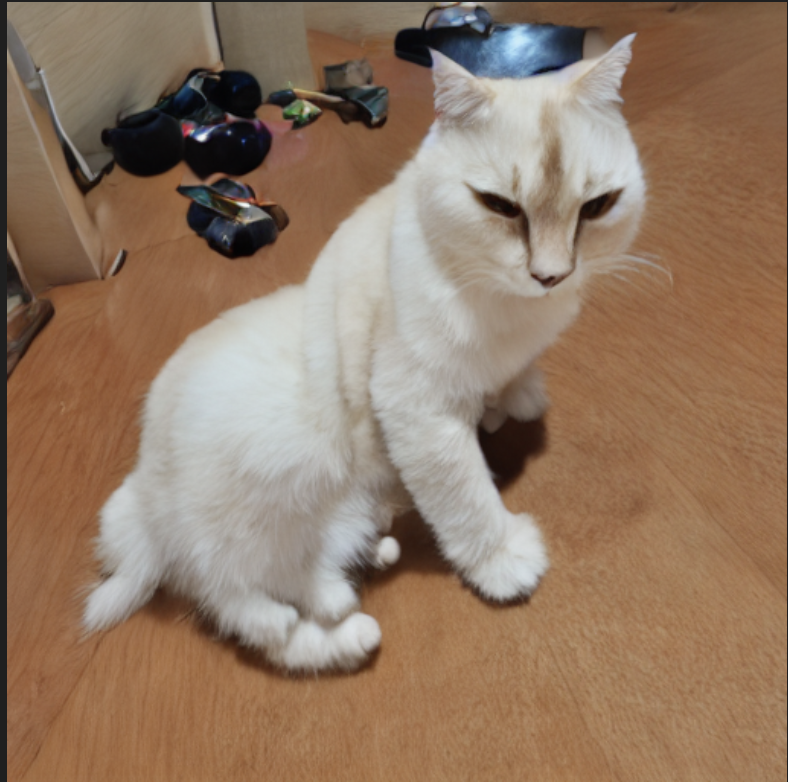
resolution은 포기하기 싫어서 조금 과적합을 생각하고
  --resolution=512  \
  --train_batch_size=1  \
  --learning_rate=1e-5  \
  --max_train_steps=750 \
으로 진행했다
비슷한데 안 귀여워짐 ㅠㅠㅠ
inference step을 100에서 200으로 늘림
resolution이 생각보다 큰 영향을 안준다는 의견이 있어서
  --resolution=256  \
  --train_batch_size=8  \
  --learning_rate=1e-5  \
  --max_train_steps=250 \
로 진행 (아무리 생각해도 batch 1 두는건 무리가 있었다)
아쉽다! (하나도 안 아쉬울지도)
person 부분의 max train_step 이 1000인 것을 감안하면 750정도 까지는 가능하지 않을까 라는 생각으로
  --resolution=256  \
  --train_batch_size=8  \
  --learning_rate=1e-5  \
  --max_train_steps=750 \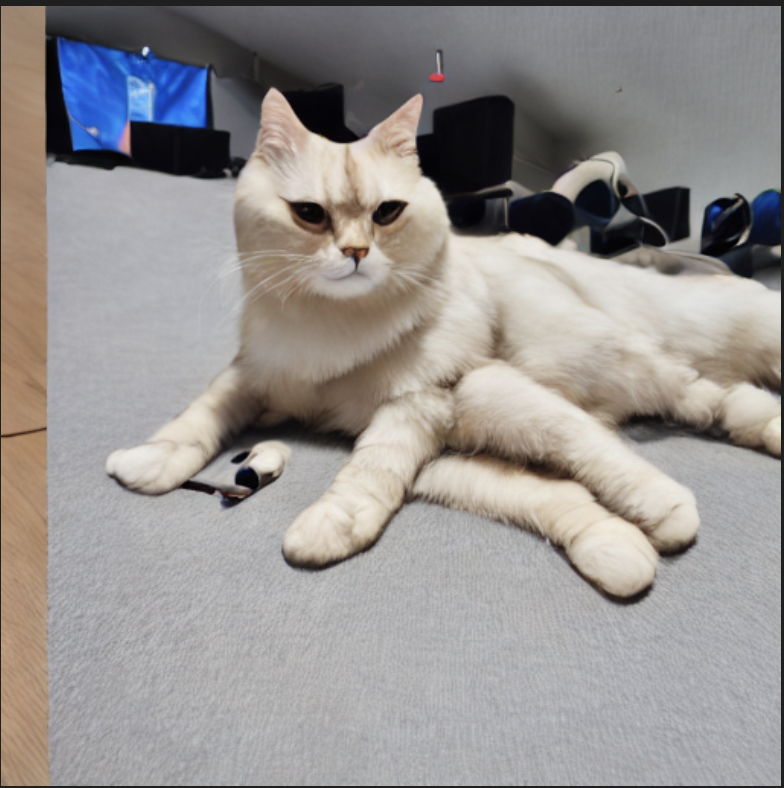
다음은 learing rate를 절반으로 줄여서
  --resolution=256  \
  --train_batch_size=8  \
  --learning_rate=5e-6  \
  --max_train_steps=750 \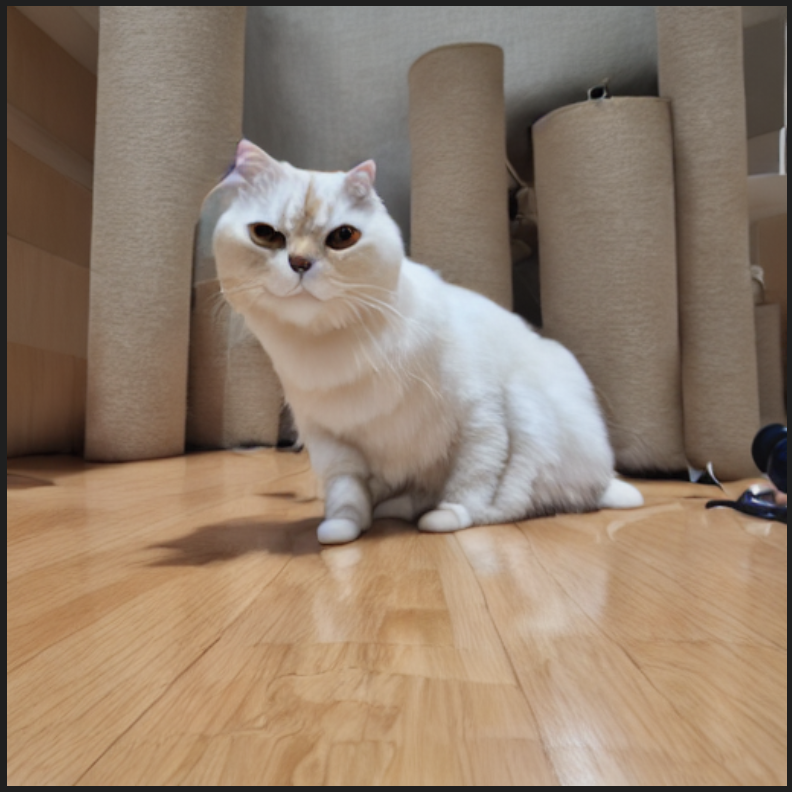
거의 다 온거 같다 (face 학습과 동일하게)
  --resolution=256  \
  --train_batch_size=8  \
  --learning_rate=5e-6  \
  --max_train_steps=1000 \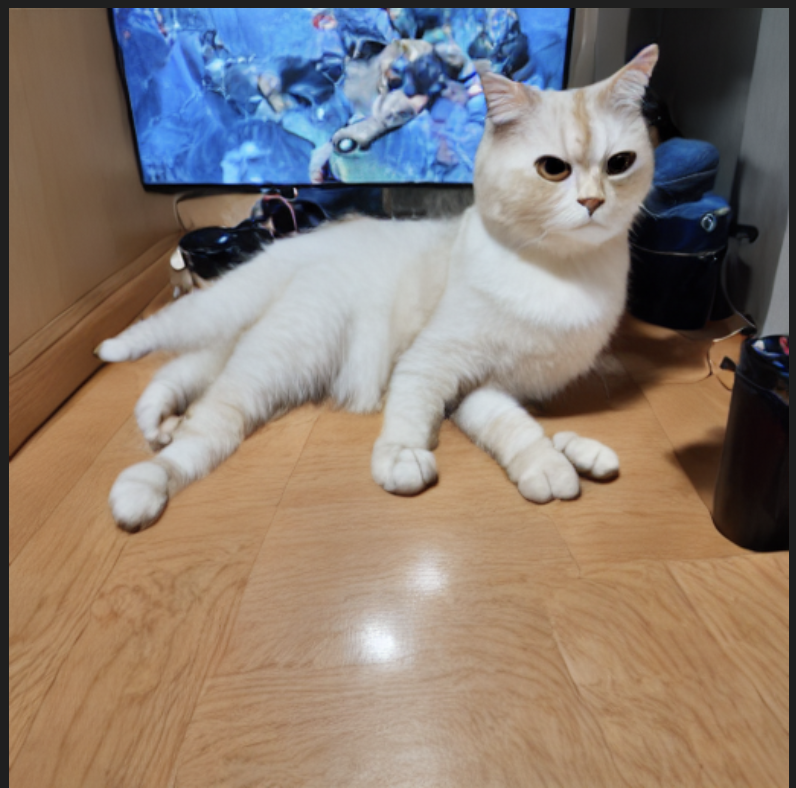
watercolor painting of <new1> cat playing with a ball
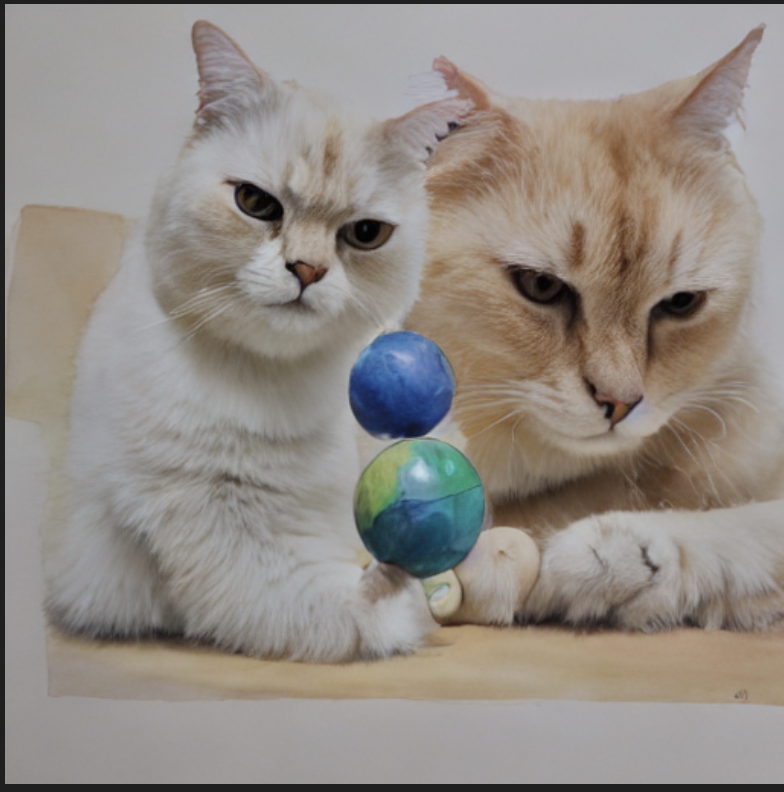
여기까지....